
Get started with CodeComet’s App Copilot by following these steps:
1. Create Your Account and Project
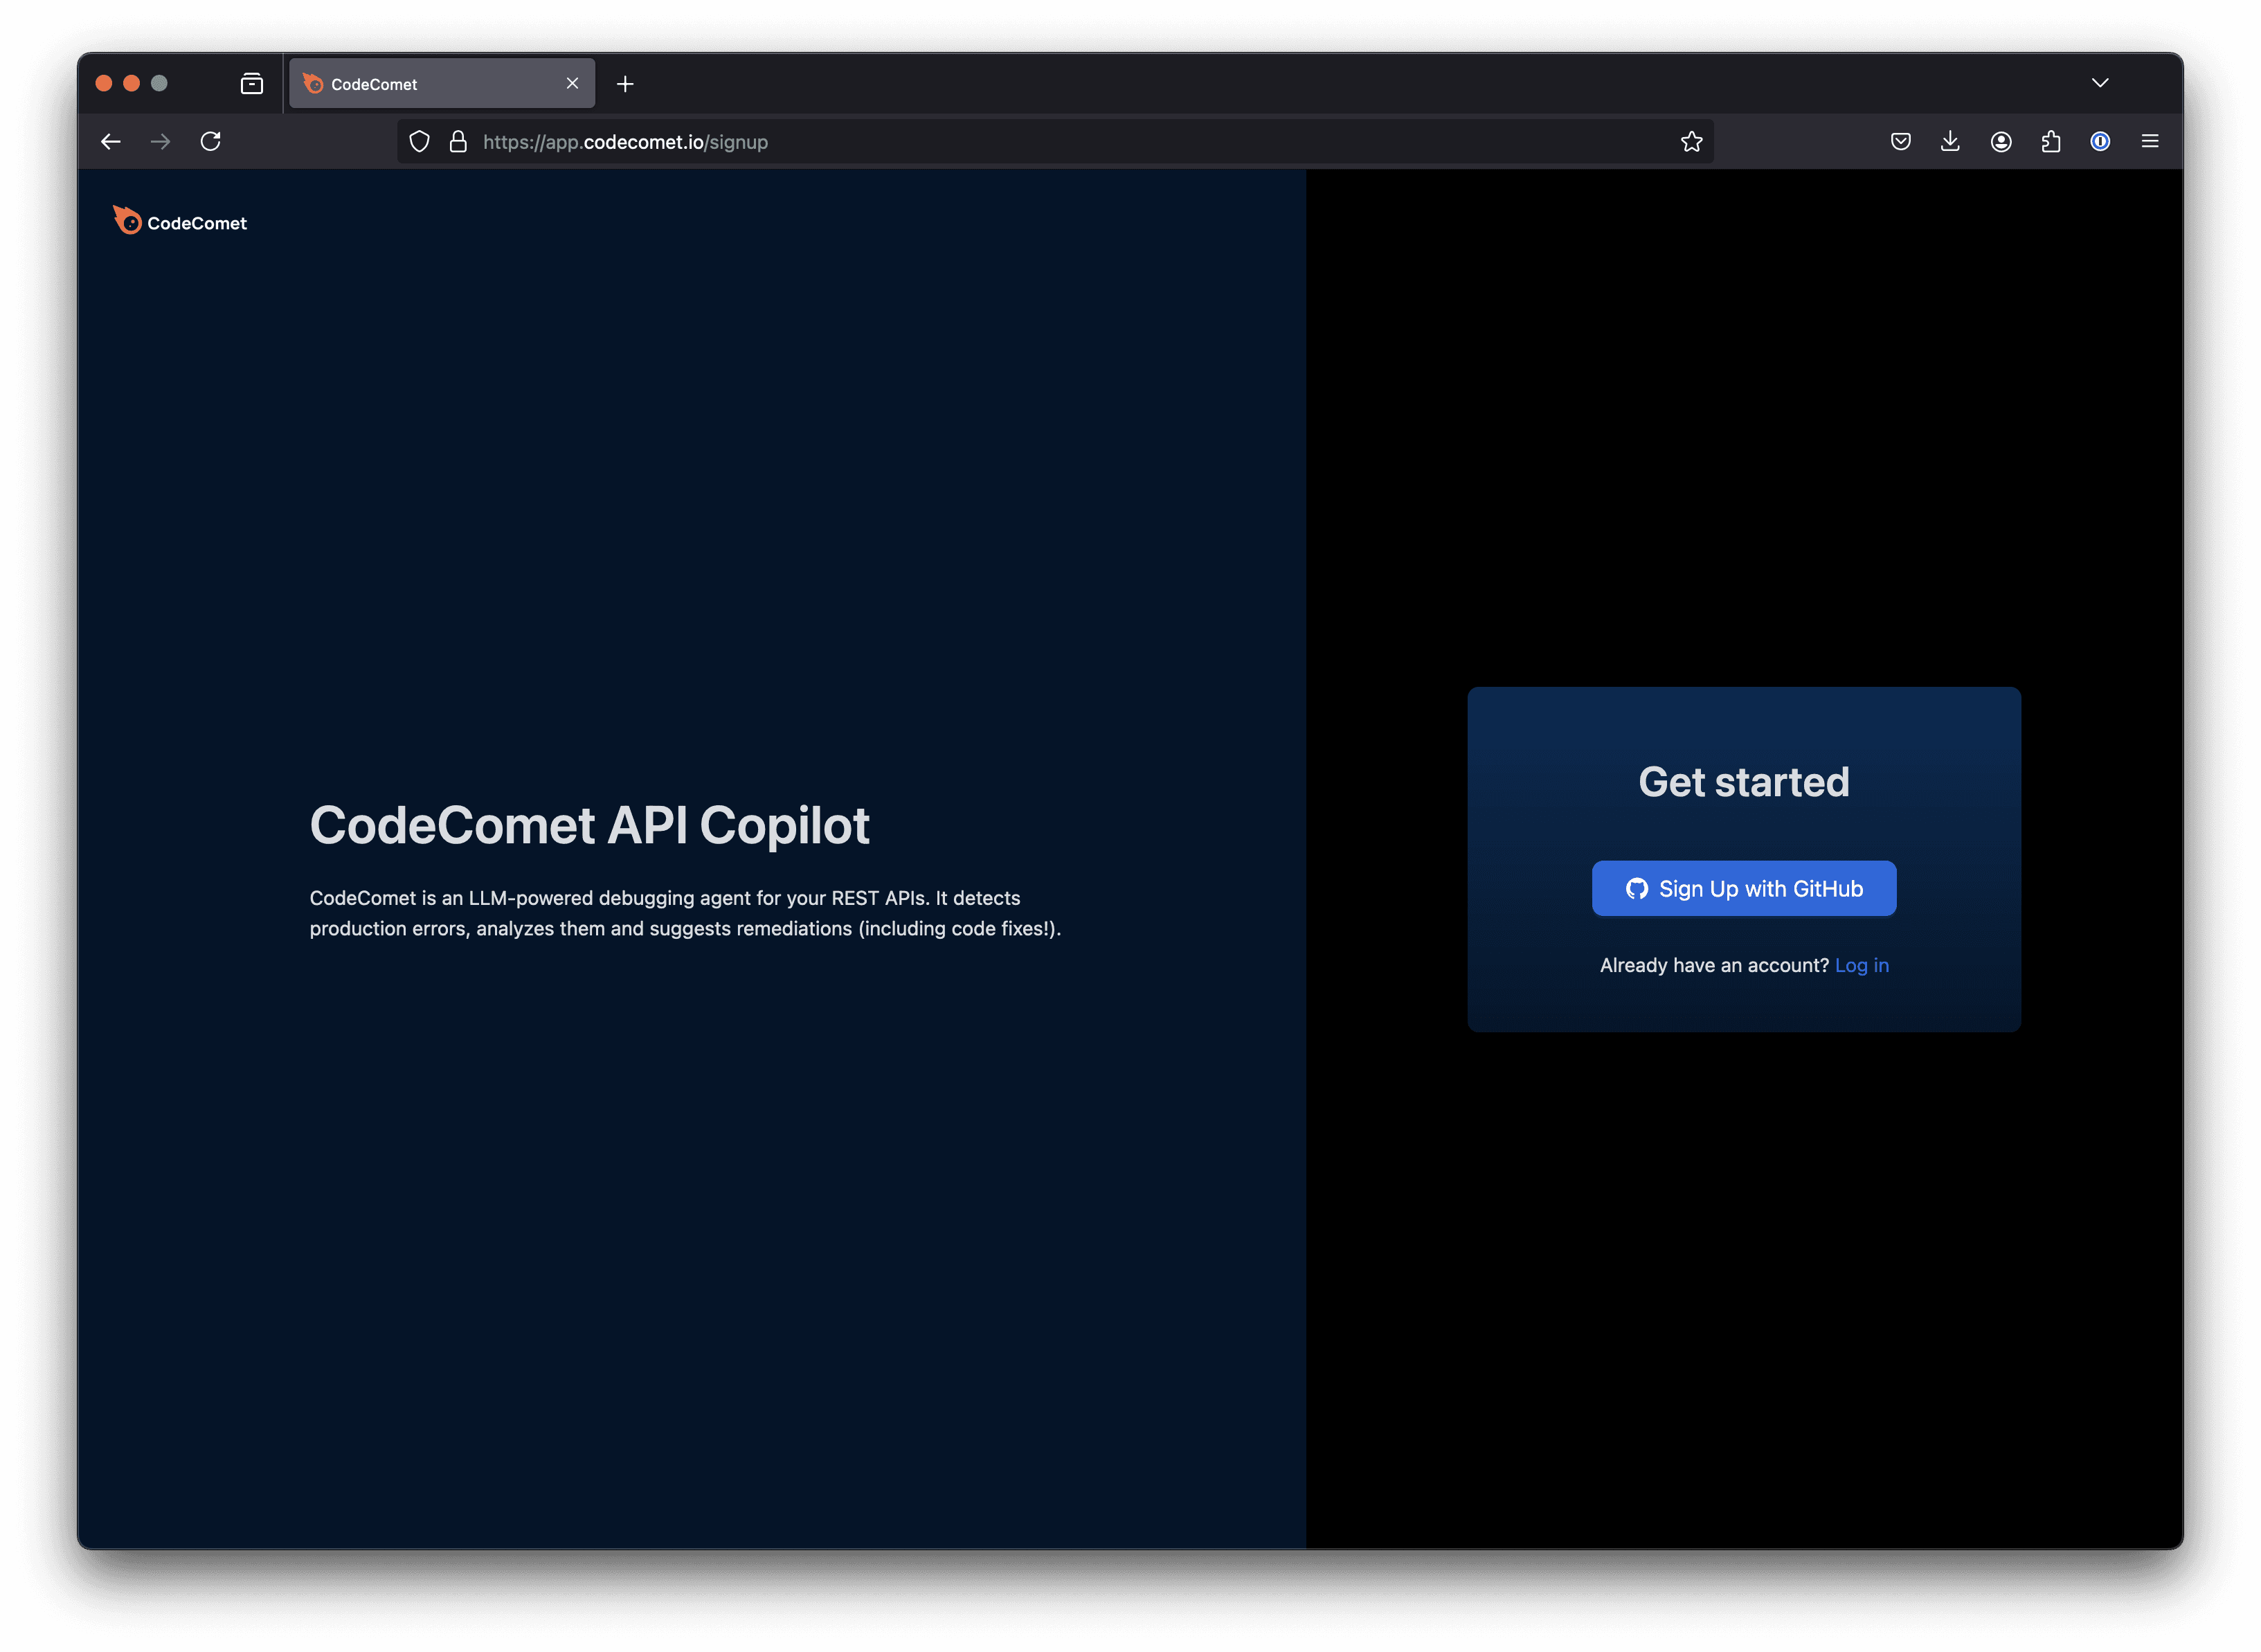
Navigate to CodeComet’s App Copilot signup page and log in using your GitHub account. The first person to log in and create a project is designated as the project admin. If you need to change the admin, please contact us or email support@codecomet.io.
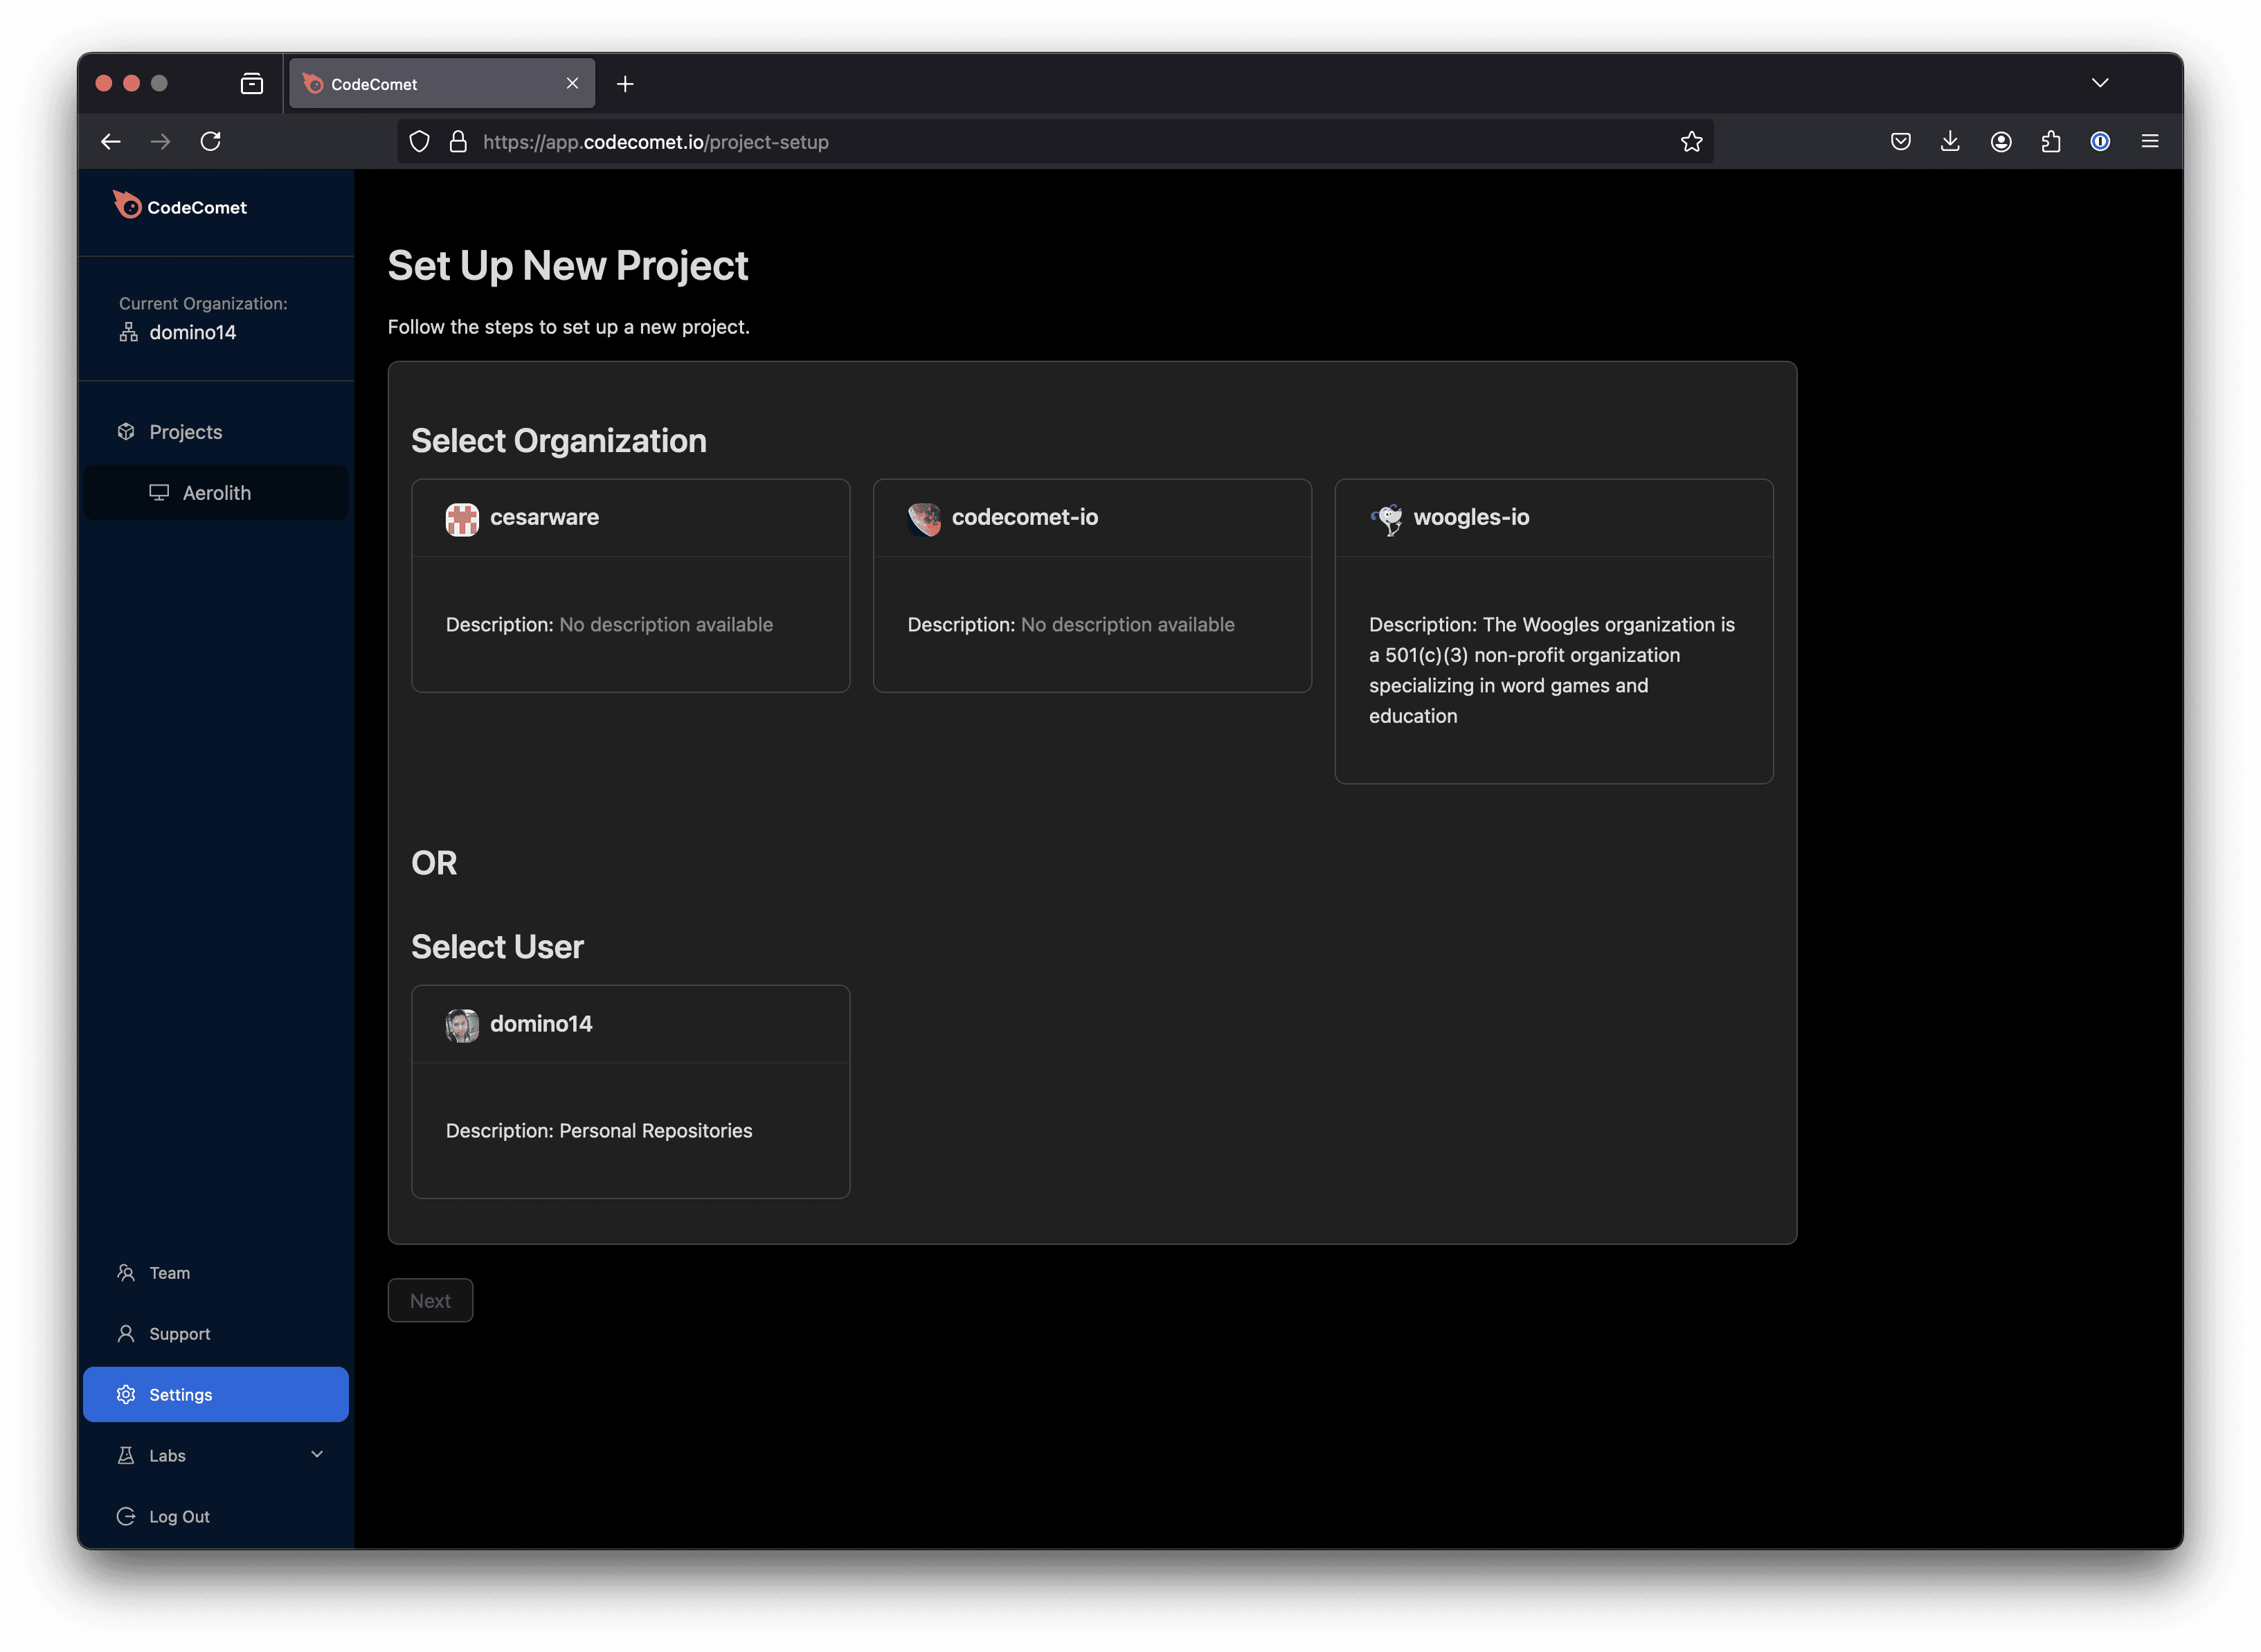
Set Up a Project
After logging in, set up your first project by following these steps:
Choose GitHub Organization: Select the relevant GitHub organization that you’d like to connect to App Copilot.
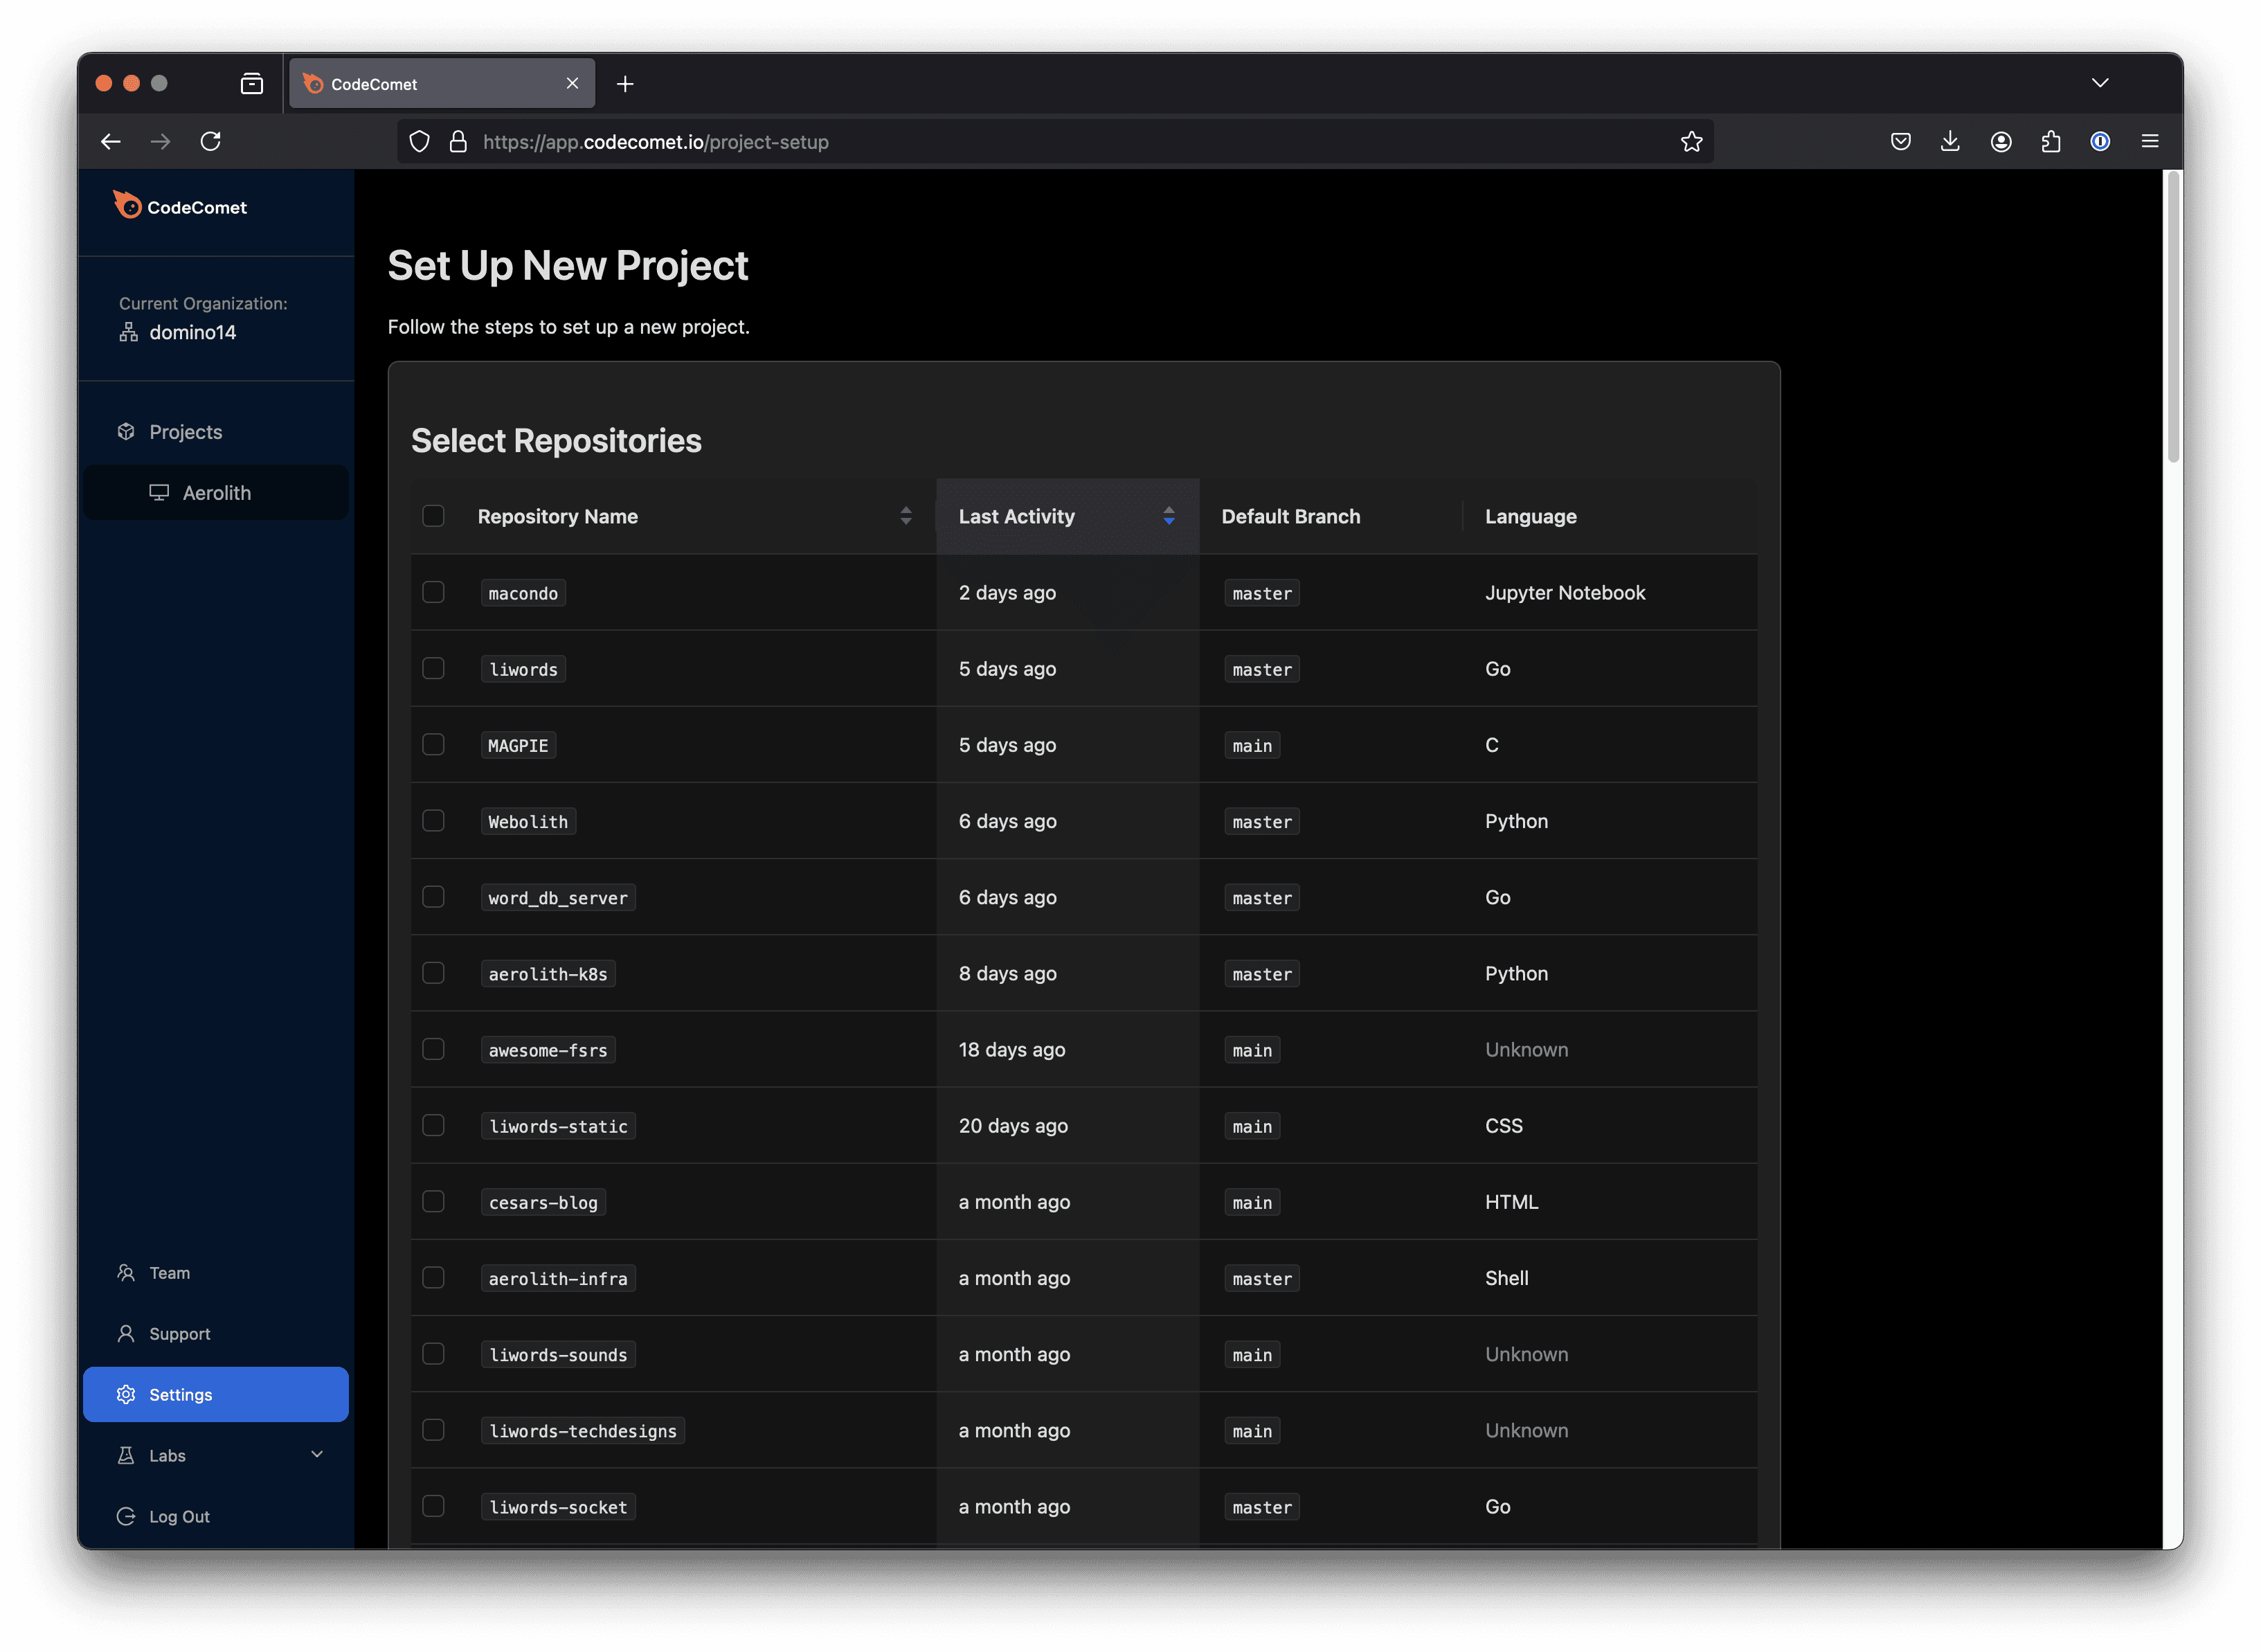
Select Repository: From the list of repositories in your chosen organization, select one repository (only one can be chosen per project).
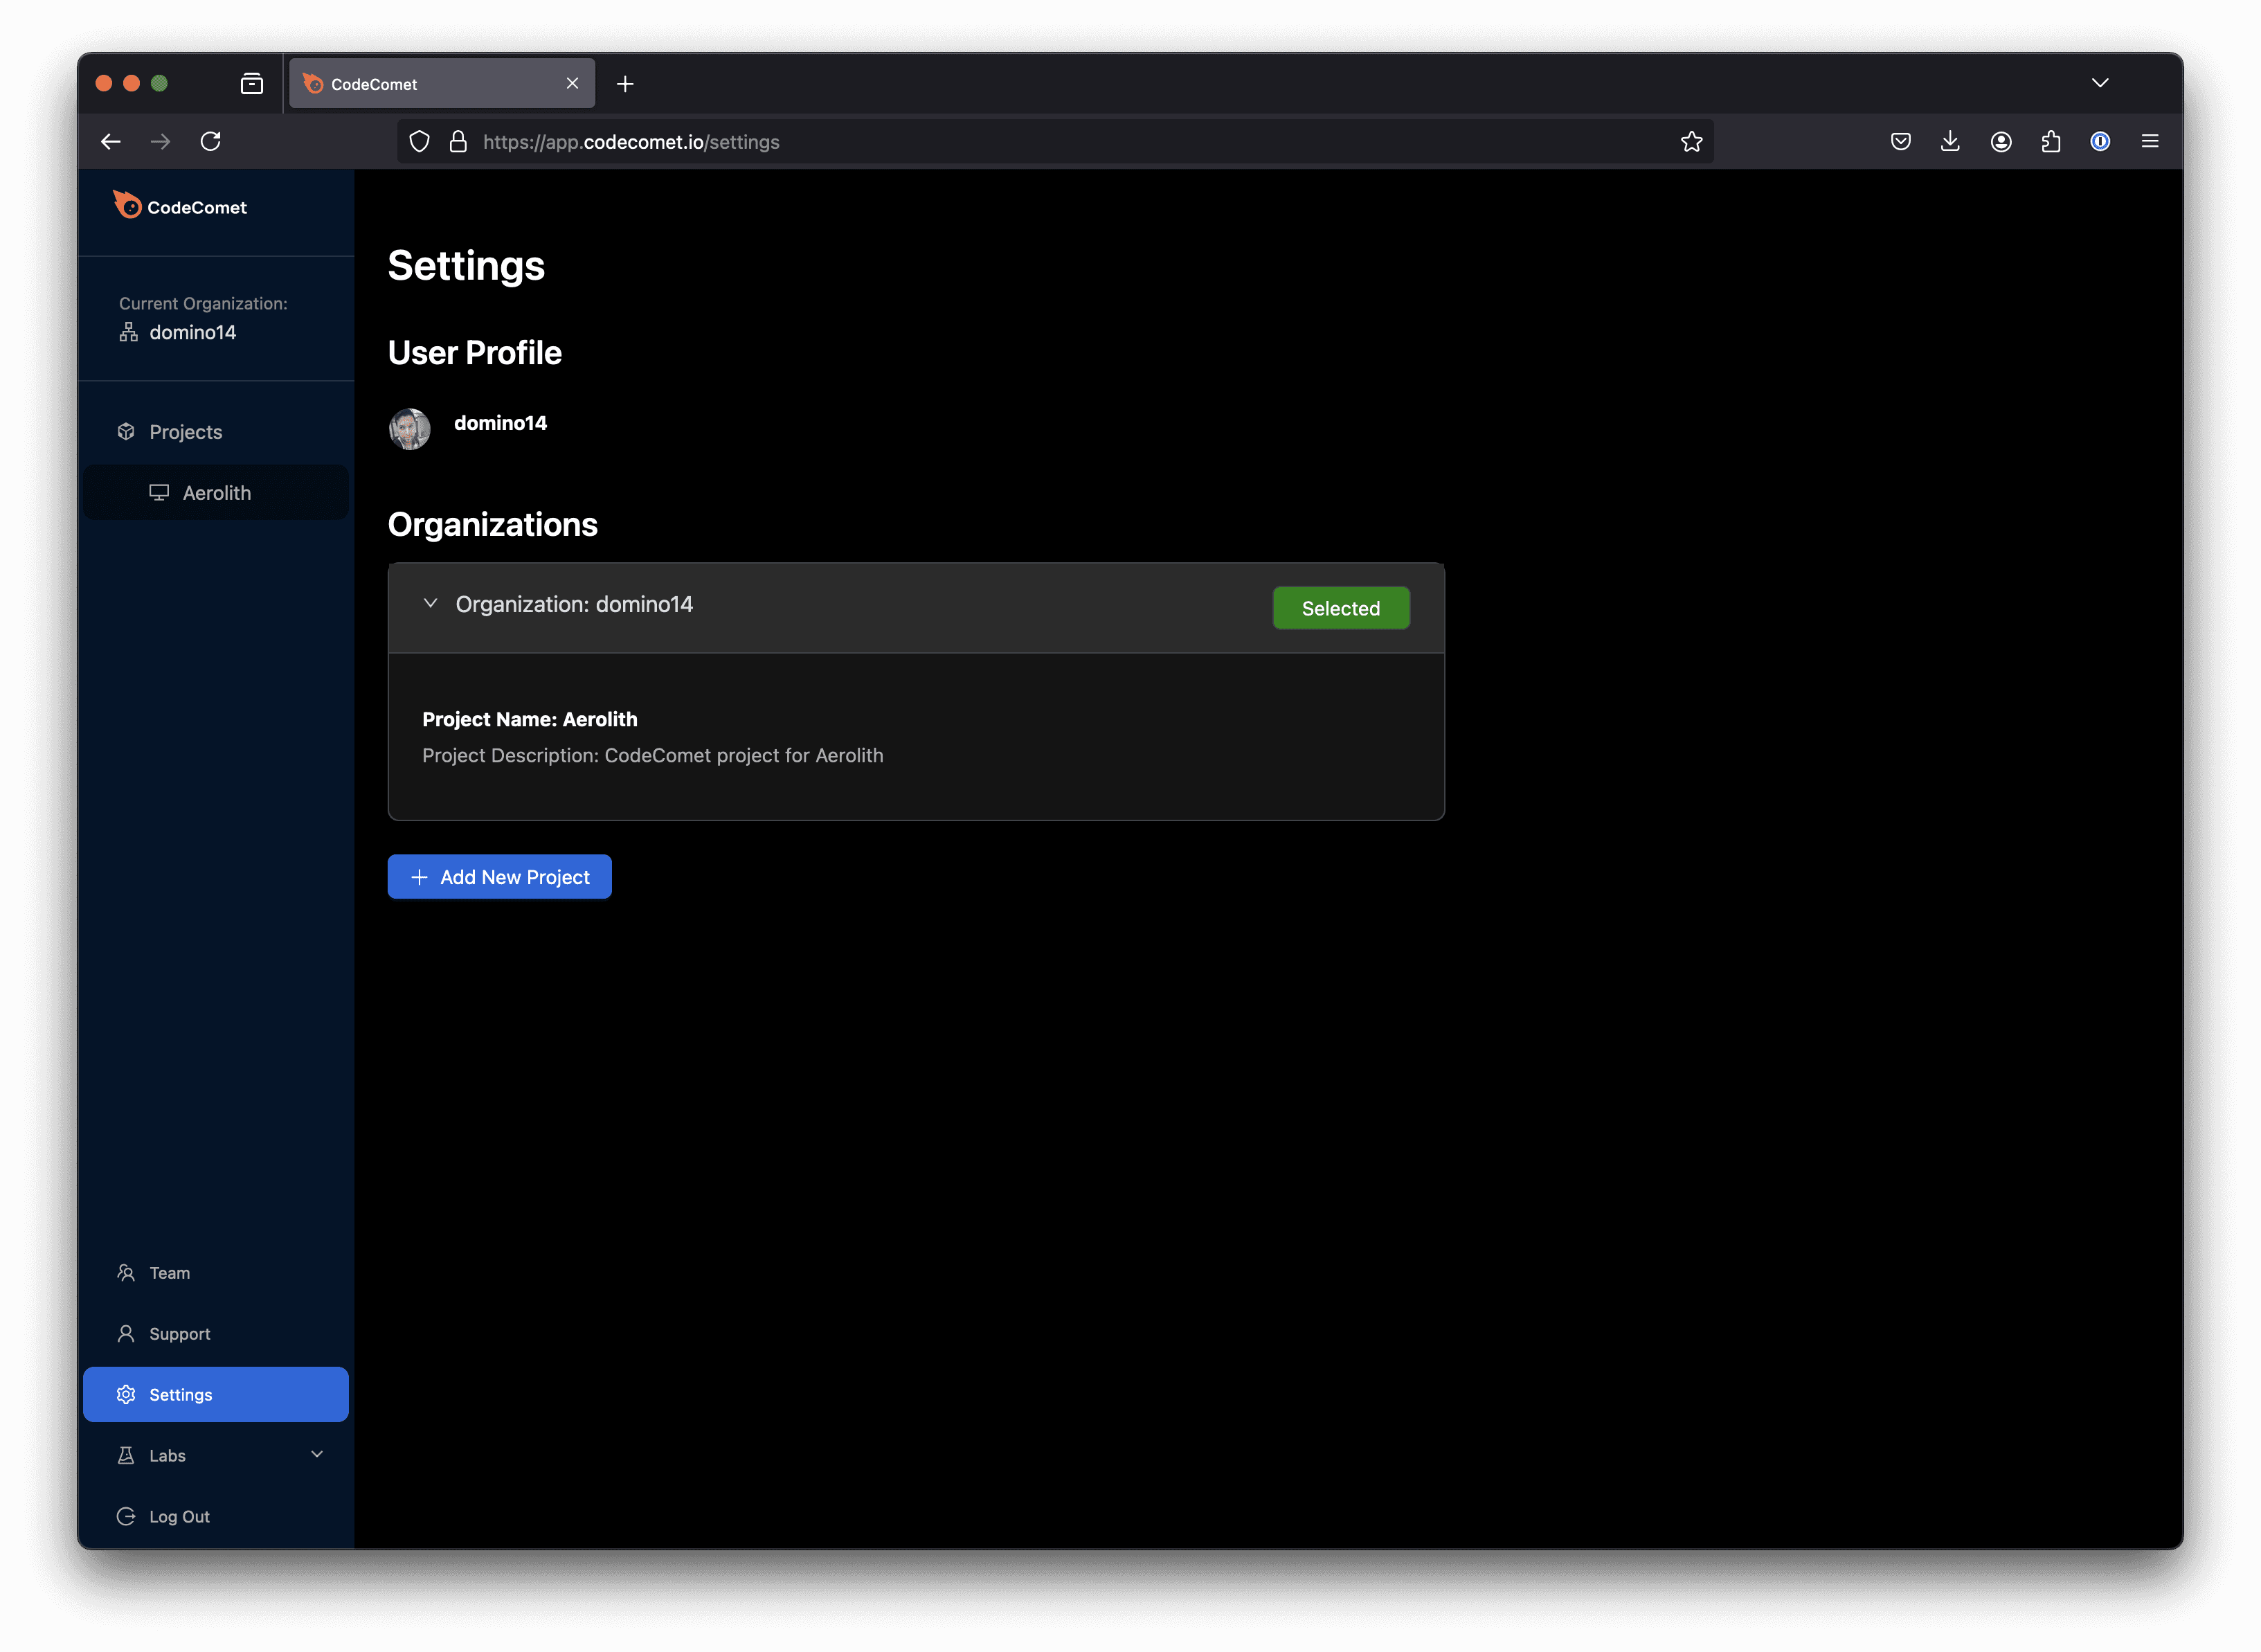
Add Project Name and Description: Provide a project name and optional description, which will appear on your CodeComet dashboard for easy reference.
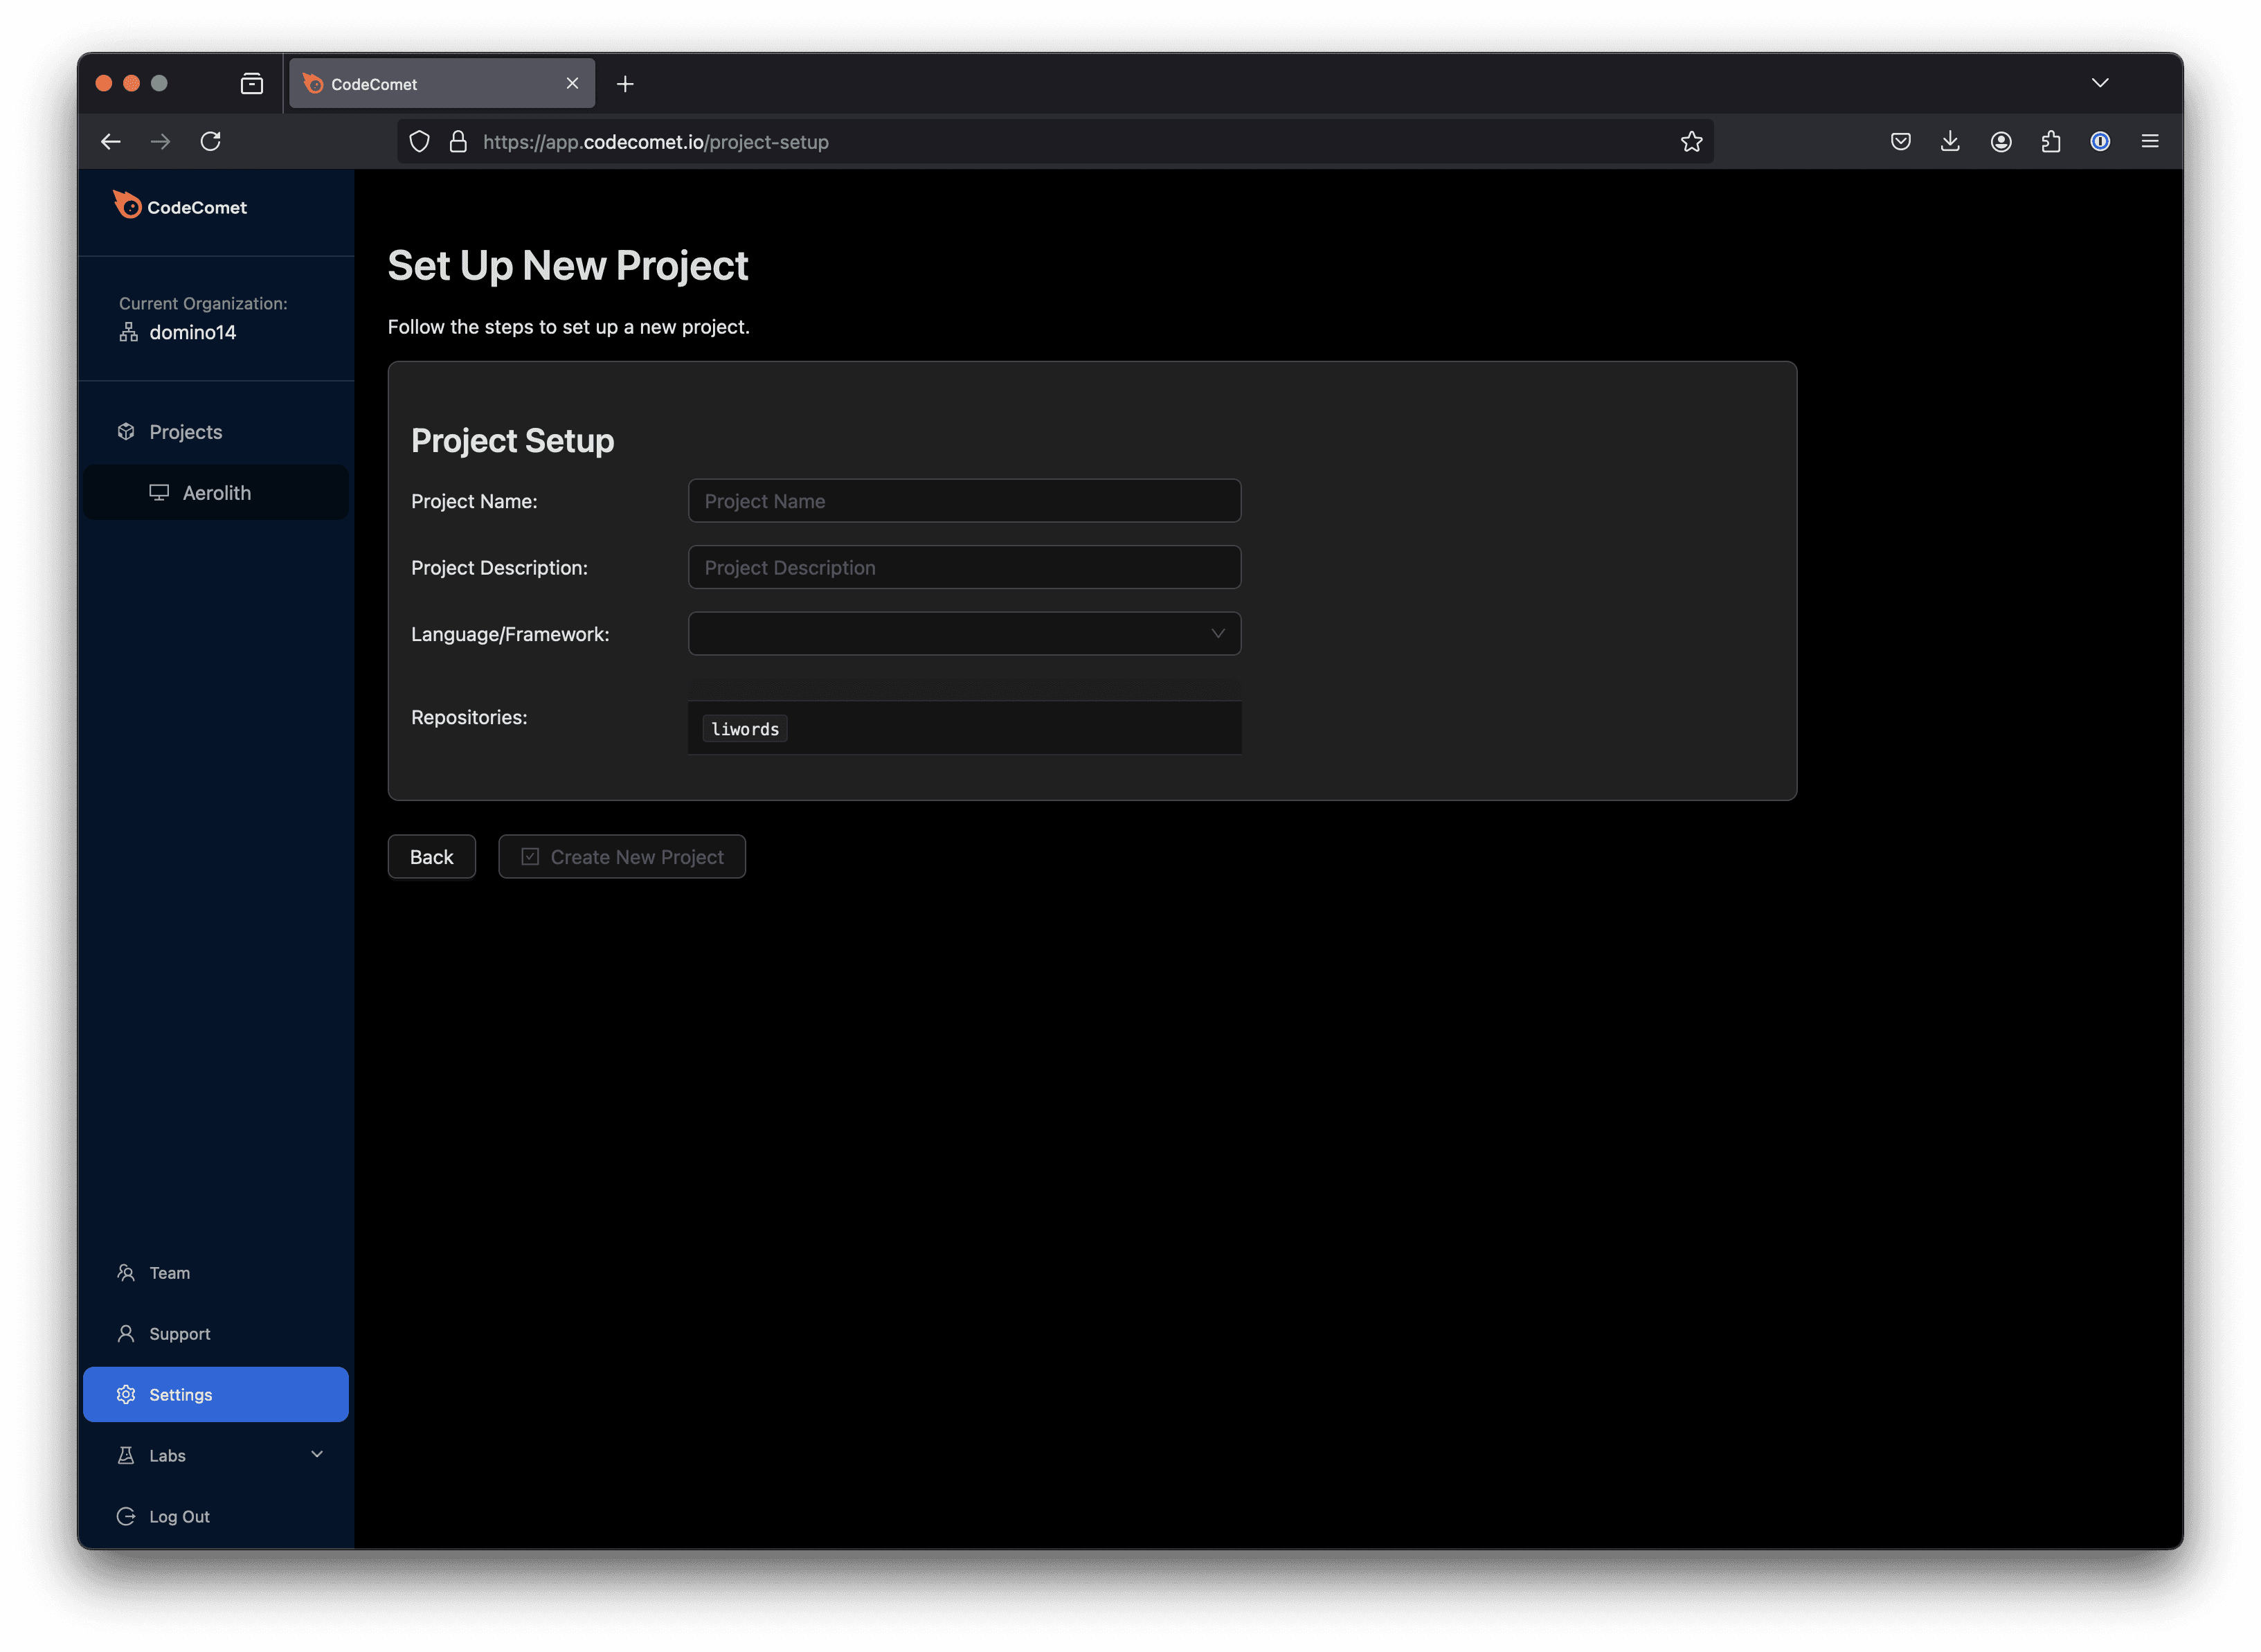
Once you’ve completed these steps, App Copilot will generate your project.
2. Set Up Integrations
Next, configure integrations for telemetry, collaboration platforms, and your LLM provider.
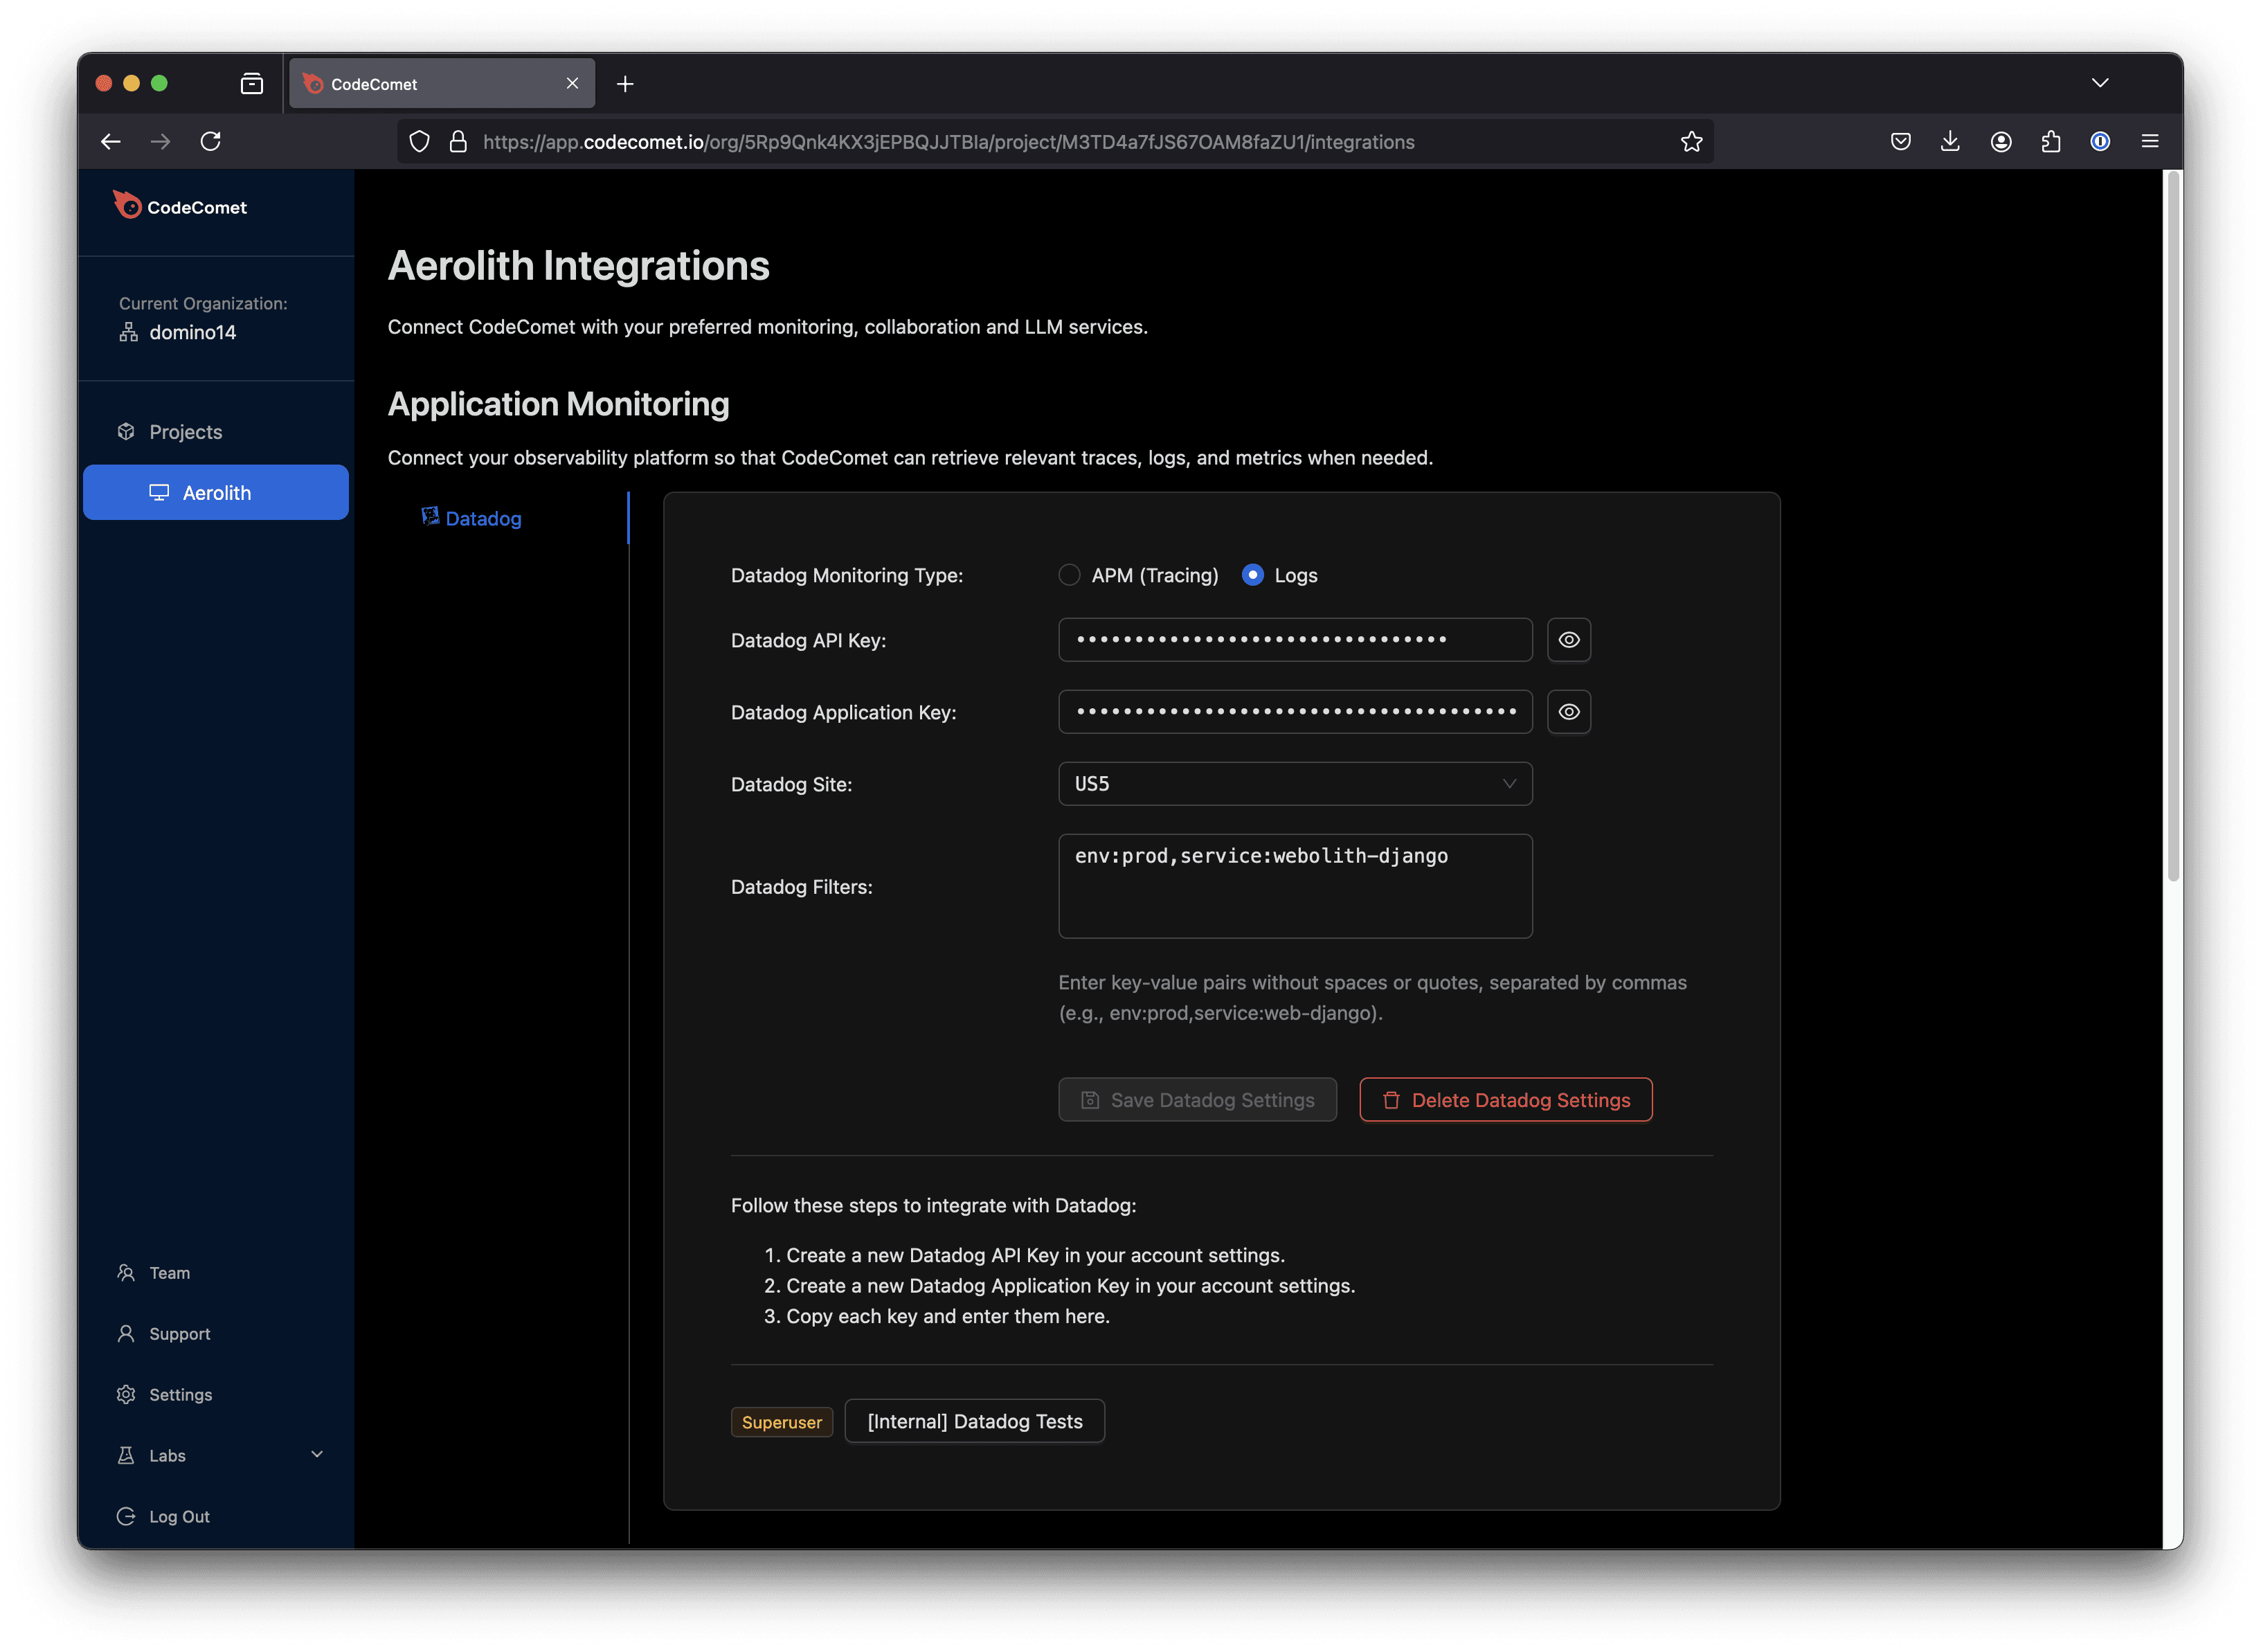
Telemetry Integration: Go to Manage Integrations within the app to connect App Copilot with Datadog or Sentry for production monitoring.
Collaboration Tools: Connect your team’s collaboration platform, such as Slack, Discord, or Google Chat, in the Manage Integrations section. This will enable notifications to be sent directly to your team’s chosen workspace.
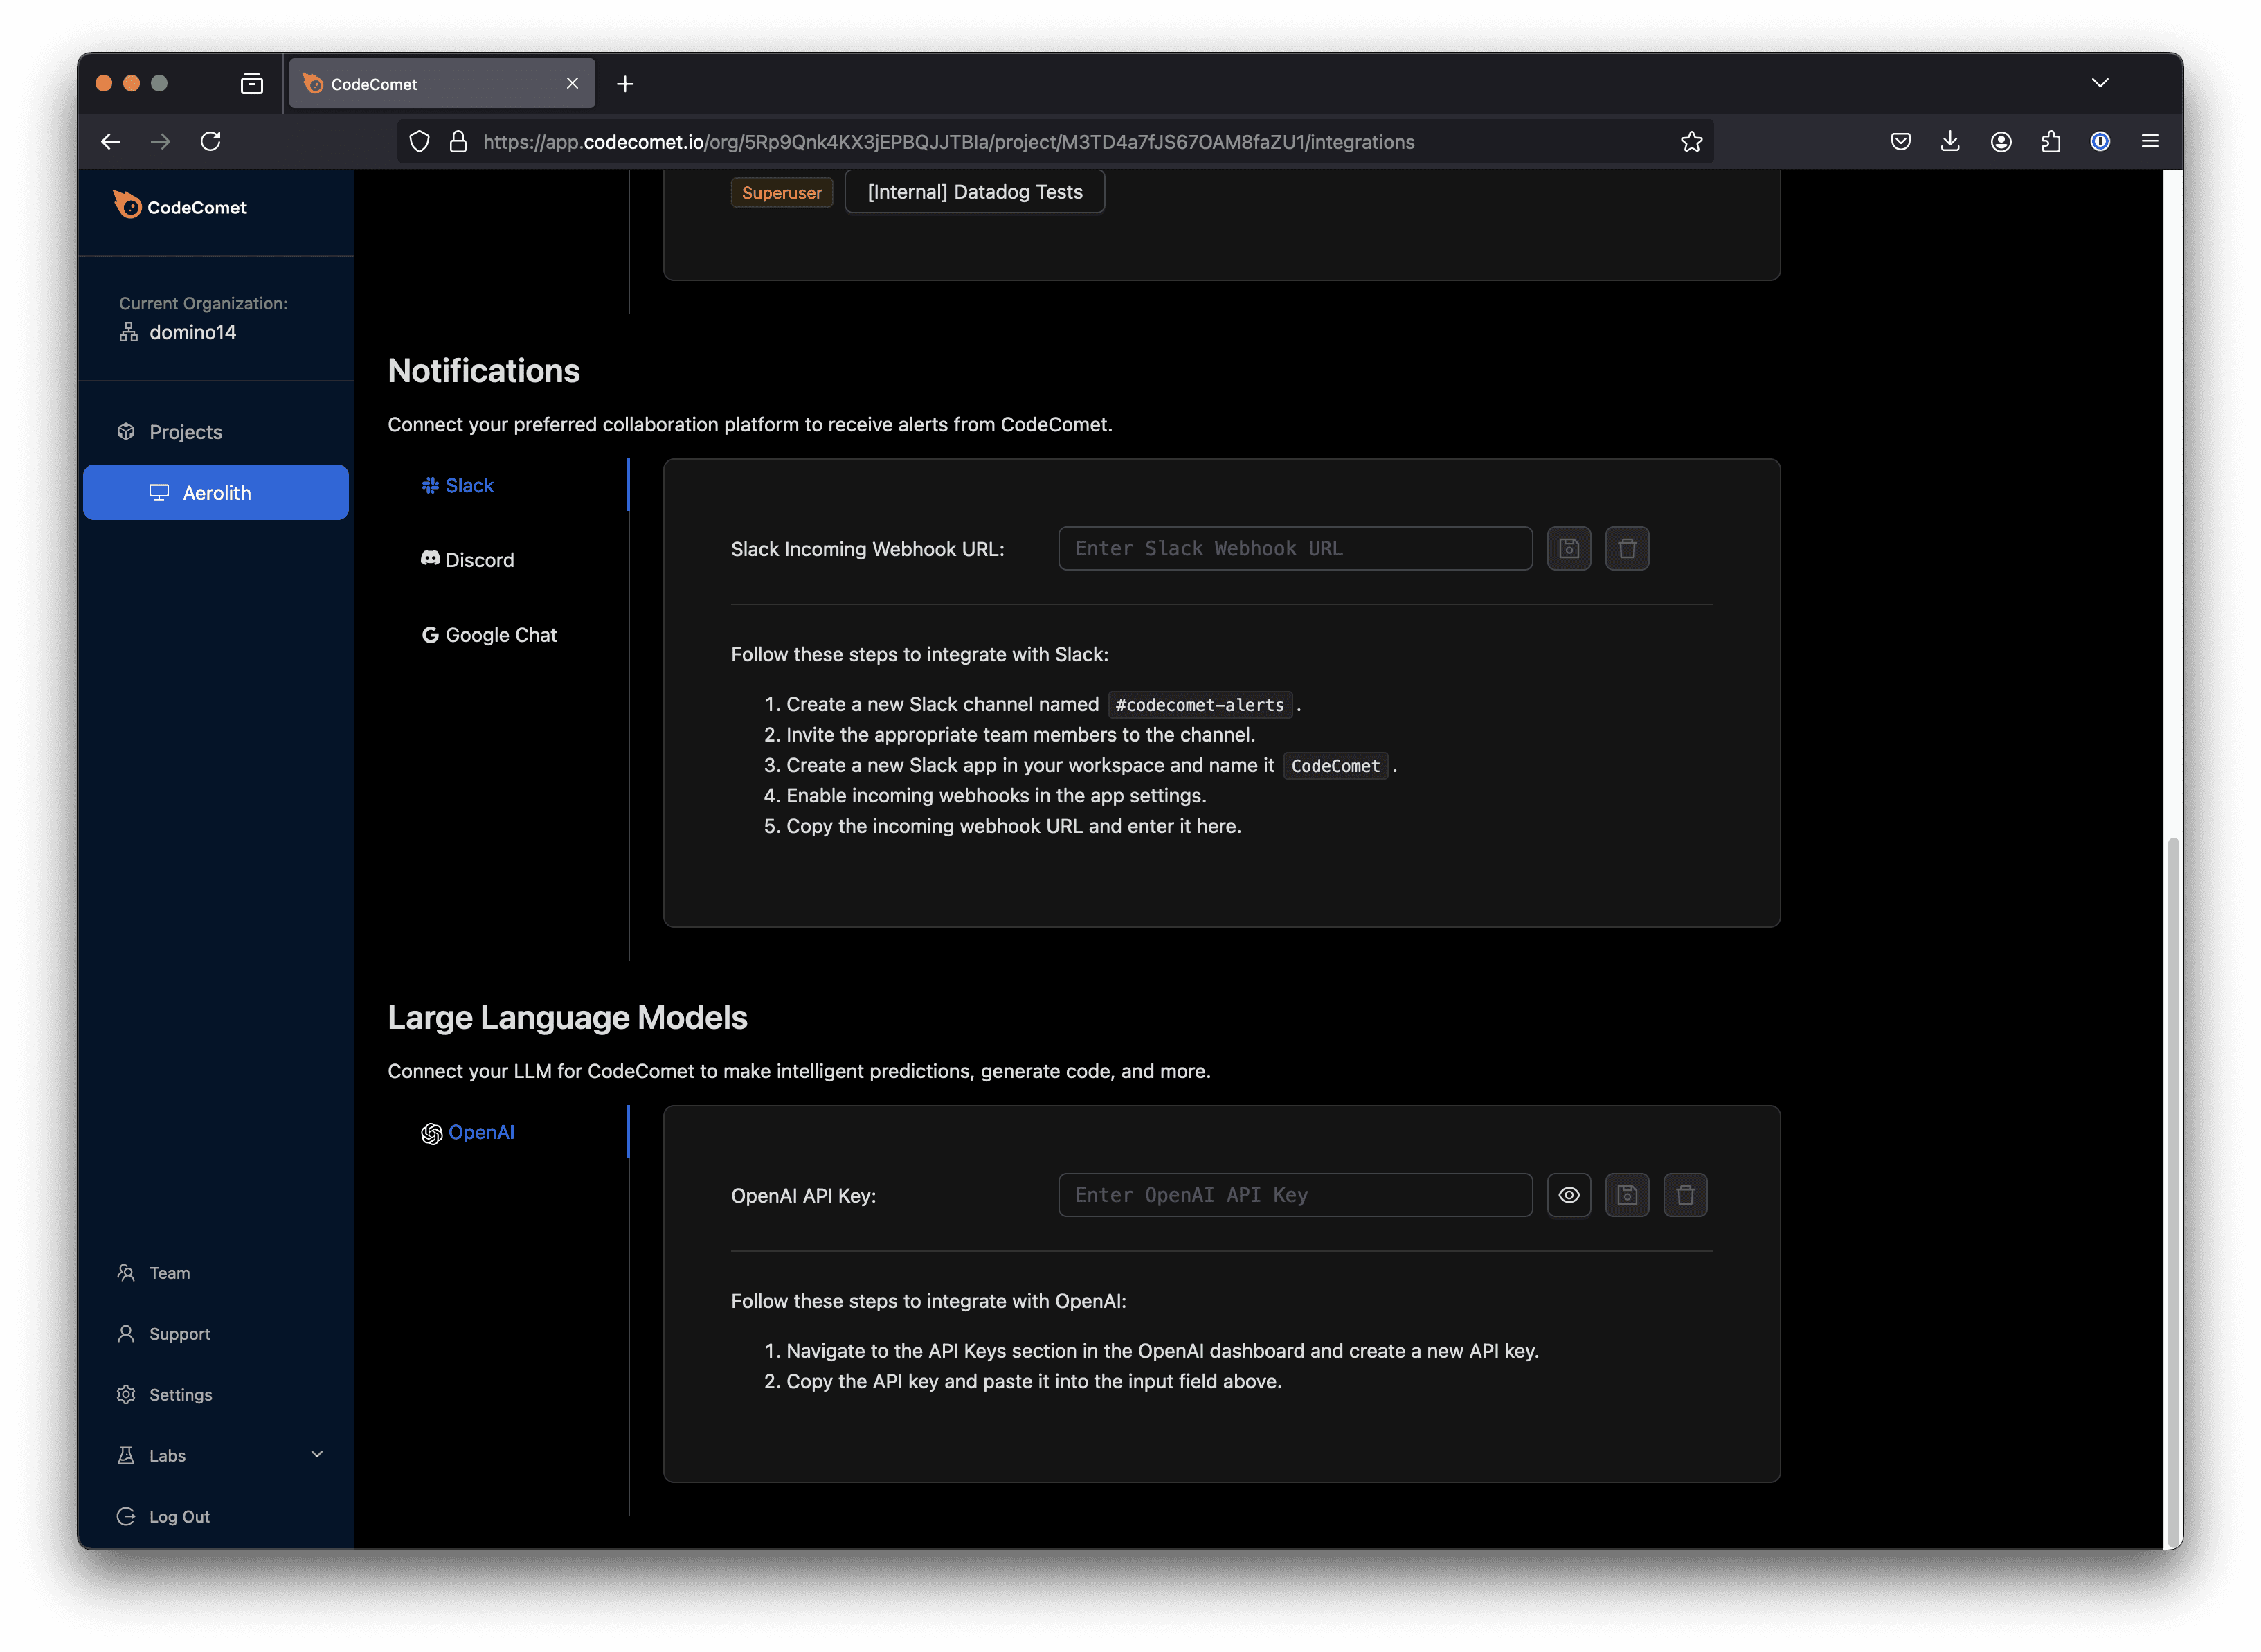
LLM Provider: Input your OpenAI API key in the Manage Integrations section to enable AI-powered analysis. We are working to expand LLM support and welcome requests for additional integrations.
3. Explore Key Views
The App Copilot web interface provides a structured view to help you monitor and resolve issues efficiently. Key views include:
Projects: See all current projects and access high-level metrics for each.
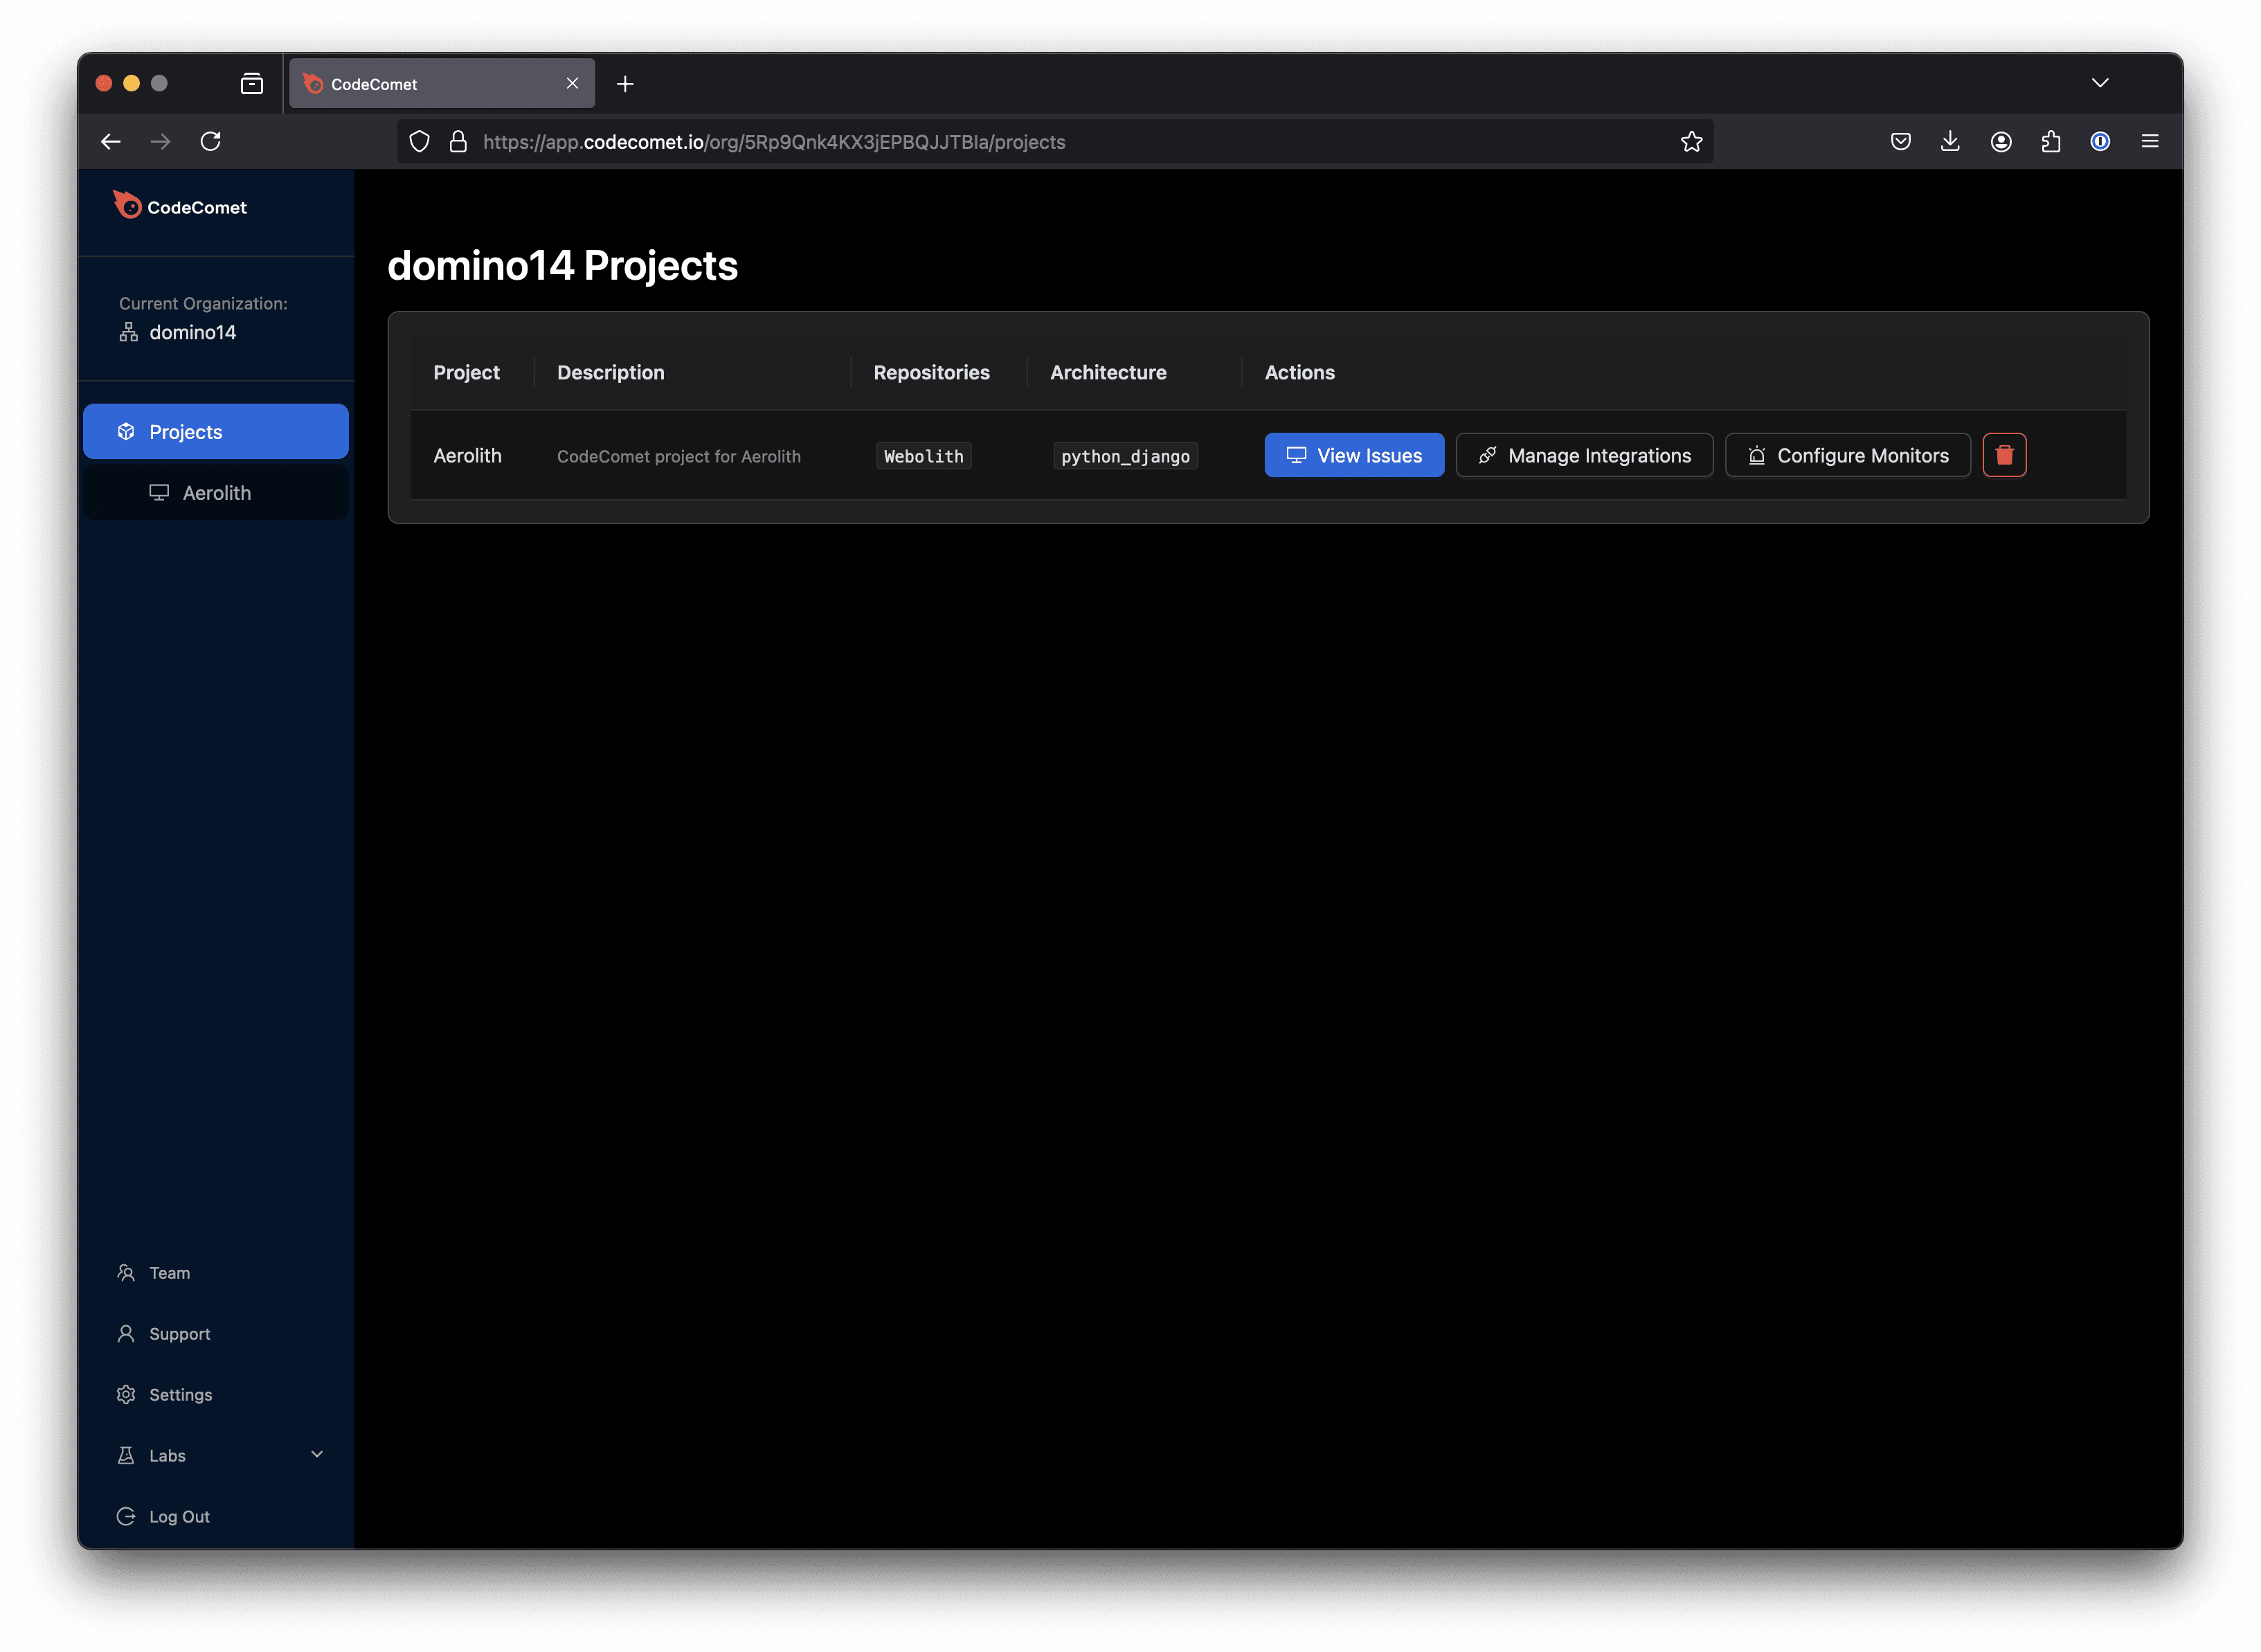
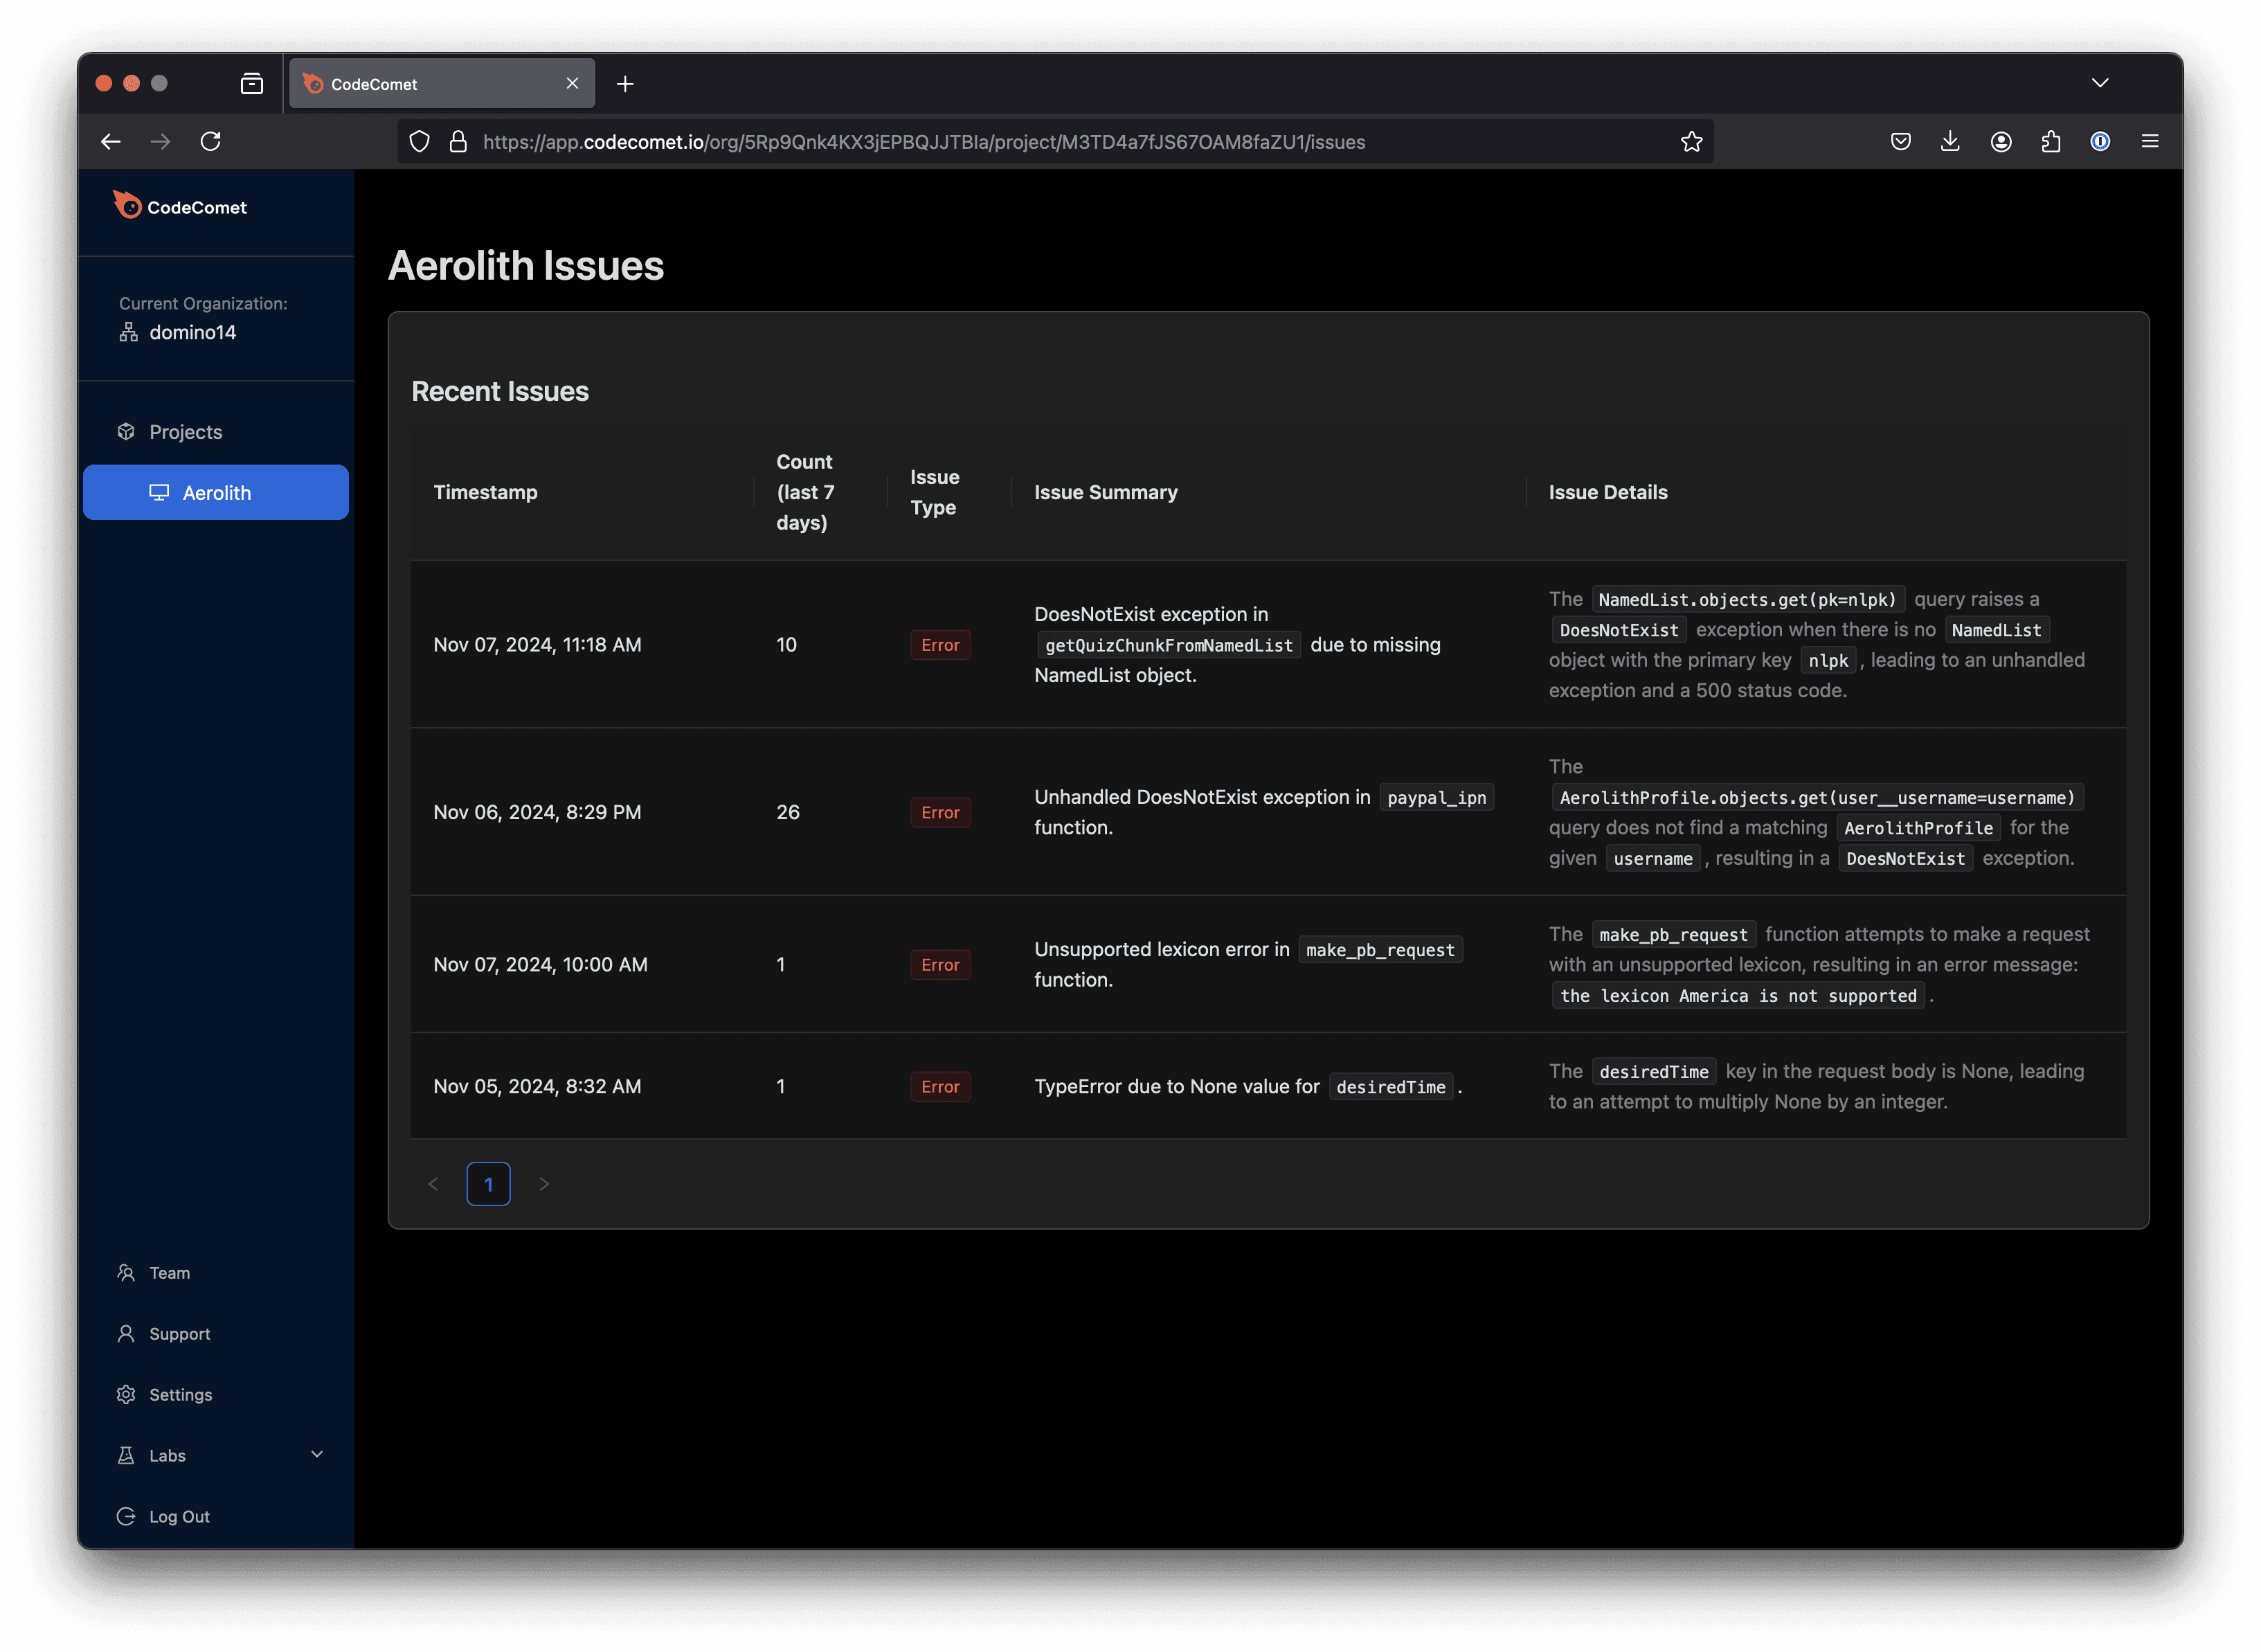
View Issues: Dive into individual project issues, including errors and performance anomalies, with detailed analyses and suggested fixes.
Manage Integrations: Configure integrations for telemetry, collaboration, and LLM providers.
Configure Monitor: Set up and adjust monitoring parsing to ensure App Copilot captures relevant issues.
Settings: Add or manage an organization within App Copilot.
Team: View current team members and their role.
4. Start Monitoring
With integrations set up, App Copilot will automatically monitor your production environment for errors and performance issues. (There may be some manual setup steps that need to be handled by the CodeComet team, in which case we will be in touch with you.) When issues are detected, App Copilot provides complete analyses and code fix suggestions directly in the View Issues section. Notifications are also sent to your team’s collaboration platform (e.g. Slack) for immediate access.